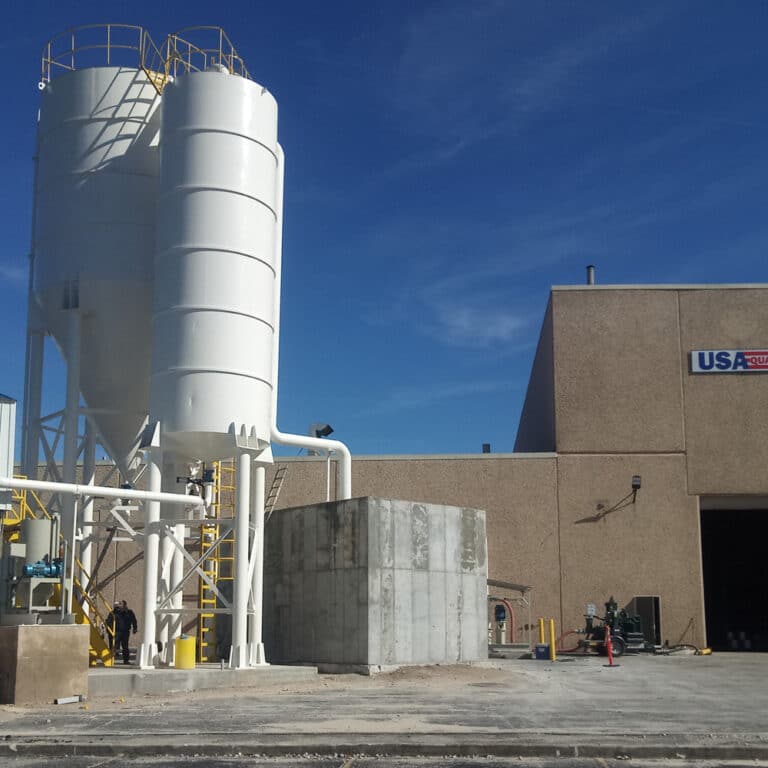
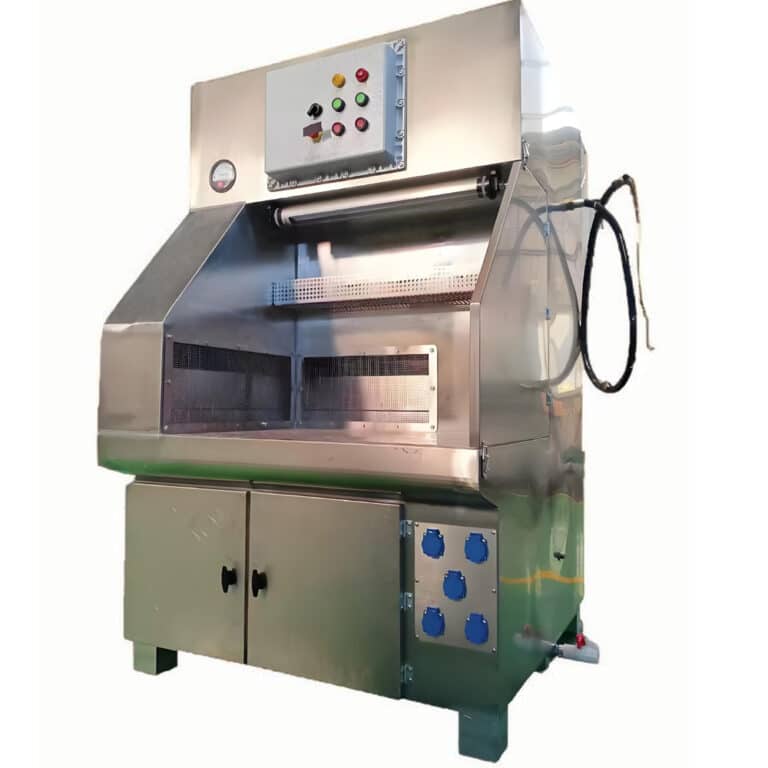
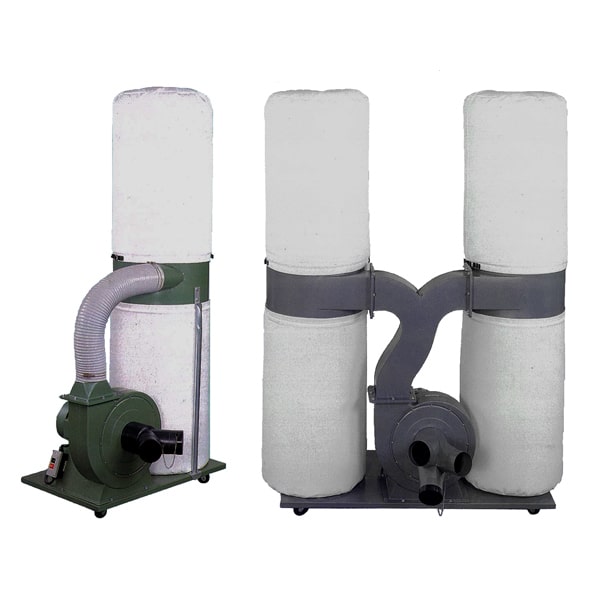
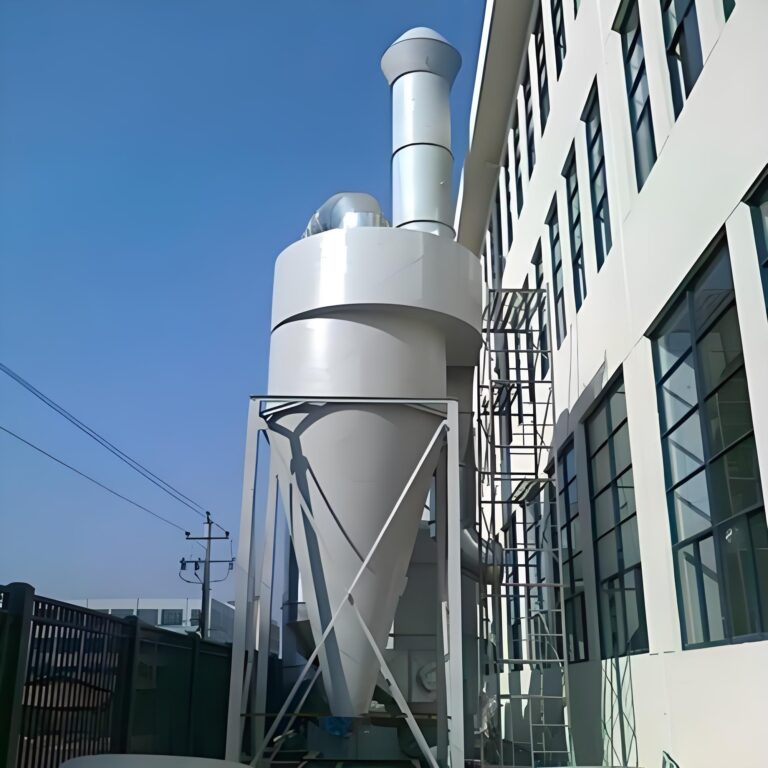
Welcome to the ultimate guide on cyclone dust collector installation. As industrial environments and workshops continue to prioritize air quality and worker safety, the importance of efficient dust collection systems cannot be overstated. Cyclone dust collectors, known for their high efficiency and low maintenance requirements, have become a popular choice for many facilities. This comprehensive article will walk you through the intricacies of installing a cyclone dust collector, ensuring you have all the information needed to set up your system effectively.
In this expert guide, we'll cover everything from pre-installation considerations to the final steps of system testing. We'll explore the key components of a cyclone dust collector, discuss the importance of proper sizing and placement, and provide detailed instructions on assembly and ductwork installation. Additionally, we'll address common challenges and offer solutions to ensure your cyclone dust collector operates at peak performance.
As we delve into the world of cyclone dust collector installation, it's crucial to understand that this process requires careful planning and execution. A well-installed system not only improves air quality but also enhances overall workplace efficiency and equipment longevity. Let's begin our journey to mastering the art of cyclone dust collector installation.
"A properly installed cyclone dust collector can remove up to 99% of airborne particles, significantly improving air quality and reducing health risks in industrial environments."
What are the essential pre-installation considerations for a cyclone dust collector?
Before diving into the installation process, it's crucial to consider several factors that will influence the success of your cyclone dust collector system. These pre-installation considerations will help ensure that your system is properly sized, positioned, and integrated into your workspace.
One of the first steps is to assess your facility's dust production and airflow requirements. This involves calculating the total air volume needed to capture dust at all generation points and determining the types of dust you'll be collecting. It's also essential to consider the layout of your workspace and identify potential installation locations that will maximize efficiency.
Another critical aspect is evaluating your power supply and ensuring it can support the cyclone dust collector's motor. You'll need to factor in voltage requirements, amperage, and circuit capacity. Additionally, consider any local regulations or permits required for dust collection system installation.
"Proper sizing of a cyclone dust collector is crucial. An undersized system will struggle to maintain adequate airflow, while an oversized system may waste energy and increase operational costs."
| Consideration | Description |
|---|---|
| Dust Production | Calculate total volume of dust generated |
| Airflow Requirements | Determine CFM needed for effective collection |
| Power Supply | Assess electrical capacity and requirements |
| Space Constraints | Identify suitable location for installation |
| Regulatory Compliance | Check local codes and obtain necessary permits |
When planning your cyclone dust collector installation, it's important to involve key stakeholders, including facility managers, maintenance personnel, and operators who will be working with the system. Their input can provide valuable insights into specific needs and potential challenges. By thoroughly addressing these pre-installation considerations, you'll be well-prepared to move forward with a successful installation process.
How do you properly size and select a cyclone dust collector?
Selecting the right size and type of cyclone dust collector is crucial for optimal performance and efficiency. The sizing process involves a careful analysis of your specific dust collection needs and operational parameters.
To begin, you'll need to calculate the total airflow required to capture dust at all generation points in your facility. This is typically measured in cubic feet per minute (CFM). Consider factors such as the number and type of dust-producing machines, the characteristics of the dust being collected, and the desired capture velocity at each collection point.
Next, evaluate the static pressure loss in your ductwork system. This will help determine the fan power needed to maintain adequate airflow throughout the system. The total static pressure is influenced by factors such as duct length, diameter, and the number of bends or transitions in the system.
"A common rule of thumb is to size your cyclone dust collector to handle at least 20% more CFM than your calculated requirement to account for system inefficiencies and future expansion."
| Factor | Consideration |
|---|---|
| Airflow (CFM) | Sum of all dust-producing points |
| Static Pressure | Total resistance in ductwork |
| Dust Characteristics | Type, size, and density of particles |
| Filter Media | MERV rating and filter area |
| Motor Power | HP required to maintain airflow |
When selecting a cyclone dust collector, consider the specific features that align with your needs. This may include factors such as filter media type, ease of maintenance, noise levels, and energy efficiency. PORVOO offers a range of cyclone dust collectors designed to meet various industrial requirements, ensuring you can find a model that fits your specific application.
Remember that proper sizing is not just about meeting current needs but also anticipating future growth. It's often wise to choose a system with some additional capacity to accommodate potential expansions or changes in your operations. By carefully considering these factors and working with experienced suppliers, you can select a cyclone dust collector that will provide efficient and reliable performance for years to come.
What are the key components of a cyclone dust collector system?
Understanding the key components of a cyclone dust collector system is essential for a successful installation and efficient operation. Each part plays a crucial role in the dust collection process, and familiarizing yourself with these components will help you make informed decisions during installation and maintenance.
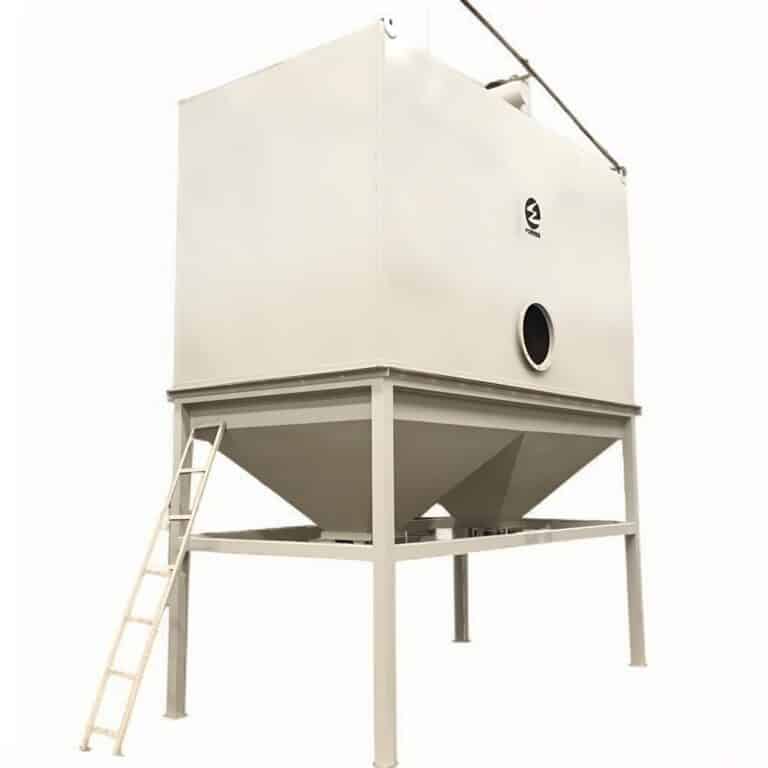
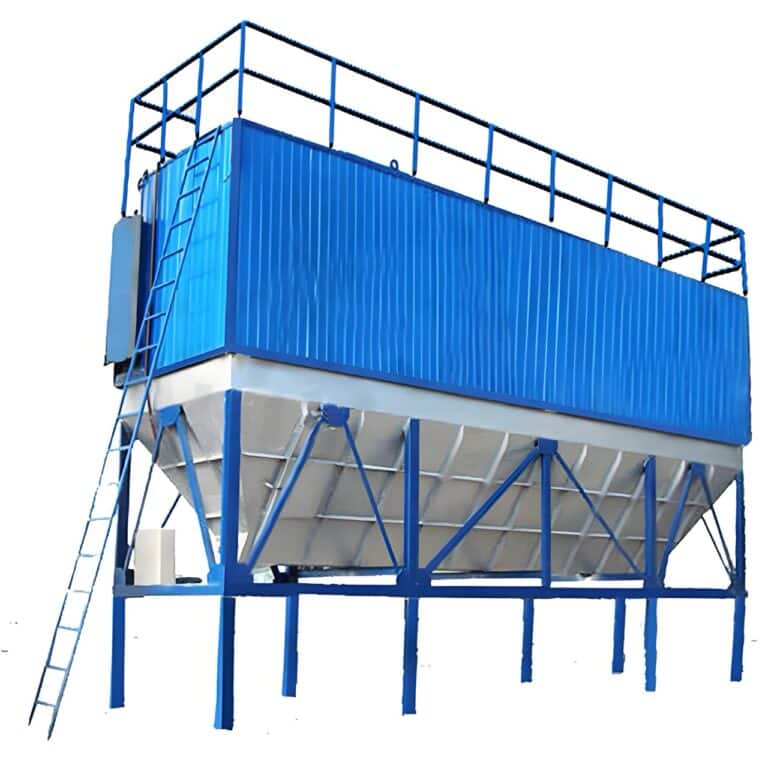
The primary components of a cyclone dust collector system include the cyclone separator, filter housing, fan or blower, motor, ductwork, and collection bin. The cyclone separator is the heart of the system, where centrifugal force is used to separate larger particles from the air stream. The filter housing contains high-efficiency filters that capture finer particles that pass through the cyclone.
The fan or blower, powered by an electric motor, creates the negative pressure necessary to pull dust-laden air through the system. The ductwork connects dust-producing machines to the collector, while the collection bin stores the separated dust for easy disposal.
"The efficiency of a cyclone dust collector can be significantly enhanced by selecting high-quality filters. MERV 15 or higher rated filters can capture particles as small as 0.3 microns, ensuring cleaner air output."
| Component | Function |
|---|---|
| Cyclone Separator | Separates larger particles using centrifugal force |
| Filter Housing | Contains filters for capturing fine particles |
| Fan/Blower | Creates airflow through the system |
| Motor | Powers the fan/blower |
| Ductwork | Connects dust sources to the collector |
| Collection Bin | Stores collected dust for disposal |
Additionally, modern cyclone dust collectors often include advanced features such as automatic filter cleaning systems, pressure differential gauges to monitor filter condition, and variable frequency drives (VFDs) for energy-efficient operation. Some systems also incorporate explosion venting or suppression systems for handling combustible dusts.
When installing your Cyclone Dust Collector Installation, it's important to ensure that all components are properly sized and compatible with each other. This includes matching the fan performance to the system's airflow and static pressure requirements, selecting appropriate filter media for your specific dust type, and ensuring the motor has sufficient power to drive the system efficiently.
By understanding these key components and their functions, you'll be better equipped to install, operate, and maintain your cyclone dust collector system effectively, ensuring optimal performance and longevity.
How do you plan the layout and positioning of a cyclone dust collector?
Planning the layout and positioning of your cyclone dust collector is a critical step that can significantly impact the system's efficiency and your facility's overall workflow. Proper placement ensures optimal dust capture, minimizes ductwork, and facilitates easy maintenance and dust removal.
Begin by creating a detailed floor plan of your workspace, marking all dust-producing machines and potential collection points. Consider the airflow patterns in your facility and try to position the cyclone dust collector in a central location that minimizes the length of ductwork required. This not only reduces installation costs but also improves system efficiency by minimizing air resistance.
Ensure that the chosen location provides adequate space for the cyclone dust collector, including room for maintenance access and dust removal. Consider factors such as ceiling height, structural support for the unit, and proximity to electrical power sources.
"Positioning your cyclone dust collector closer to the heaviest dust-producing machines can improve collection efficiency and reduce the overall system static pressure, potentially lowering energy costs."
| Consideration | Description |
|---|---|
| Central Location | Minimize ductwork length |
| Maintenance Access | Allow space for servicing |
| Dust Removal | Easy access for bin emptying |
| Structural Support | Ensure floor can bear the weight |
| Power Source | Proximity to electrical supply |
It's also important to consider the impact of the cyclone dust collector on your facility's ventilation system. Ensure that the exhaust from the collector is directed outside the building or into a dedicated filtered return air system. If exhausting outside, be mindful of local regulations regarding air emissions and position the outlet away from air intakes or neighboring properties.
When planning the layout, think about future expansion or changes in your production process. Leaving some room for additional ductwork or a larger collector can save time and money in the long run. By carefully considering these factors and working with experienced professionals, you can create an optimal layout for your cyclone dust collector installation that enhances both efficiency and safety in your workplace.
What are the steps for assembling and installing the cyclone dust collector?
Assembling and installing a cyclone dust collector requires careful attention to detail and adherence to manufacturer instructions. While specific steps may vary depending on the model, here's a general overview of the process to guide you through the installation.
Start by carefully unpacking all components and verifying that you have all necessary parts and hardware. Review the manufacturer's manual thoroughly before beginning assembly. It's often helpful to lay out all parts in an organized manner to facilitate the assembly process.
Begin with the cyclone body assembly, typically involving the connection of the upper and lower sections. Ensure all seams are properly sealed to prevent air leaks. Next, install the filter housing, making sure it's securely attached to the cyclone body. If your model includes a pre-separator, install this component according to the manufacturer's guidelines.
"Proper sealing of all joints and connections in a cyclone dust collector can improve efficiency by up to 15% by preventing air leaks and maintaining system pressure."
| Assembly Step | Key Points |
|---|---|
| Cyclone Body | Ensure proper alignment and sealing |
| Filter Housing | Secure attachment to cyclone body |
| Fan Installation | Correct orientation for airflow |
| Motor Mounting | Proper alignment and tensioning |
| Ductwork Connection | Secure and sealed connections |
Once the main body is assembled, install the fan and motor. Pay close attention to the fan's orientation to ensure proper airflow direction. When mounting the motor, ensure proper alignment and belt tensioning if applicable. Some systems may use direct-drive motors, which simplify this step.
Next, connect the ductwork to the cyclone inlet and outlet ports. Use appropriate fittings and ensure all connections are secure and sealed to prevent air leaks. Install the collection bin or drum, making sure it forms a tight seal with the cyclone body to prevent dust escape during operation.
Finally, complete the electrical connections according to local codes and the manufacturer's specifications. This typically involves wiring the motor to a suitable power source and installing any control systems or safety interlocks.
Throughout the installation process, it's crucial to follow all safety guidelines and use appropriate personal protective equipment. If you're unsure about any aspect of the installation, don't hesitate to consult with the manufacturer or a professional installer. A properly installed cyclone dust collector will provide efficient and reliable performance, contributing to a cleaner and safer work environment.
How do you set up and connect the ductwork system?
Setting up and connecting the ductwork system is a critical aspect of cyclone dust collector installation that directly impacts the overall efficiency of your dust collection system. Proper ductwork design and installation ensure optimal airflow and dust capture from all connected machines.
Begin by creating a detailed plan of your ductwork layout. This should include the main trunk line, branch lines to individual machines, and any necessary transitions or fittings. Aim for the shortest and most direct route possible to minimize air resistance and pressure loss.
When selecting ductwork materials, consider factors such as the type of dust being collected, air velocity, and static pressure. Galvanized steel is commonly used for its durability and fire resistance. Ensure that all ductwork components are properly sized to maintain consistent air velocity throughout the system.
"Maintaining a minimum air velocity of 3,500 feet per minute in horizontal runs and 4,000 feet per minute in vertical runs is crucial for preventing dust settling and potential blockages in the ductwork."
| Ductwork Component | Consideration |
|---|---|
| Main Trunk Line | Sized for total system CFM |
| Branch Lines | Sized for individual machine requirements |
| Blast Gates | Installed for flow control to each machine |
| Flex Hose | Used for final connection to machines |
| Elbows | Long radius bends to minimize resistance |
Start the installation with the main trunk line, working your way towards the individual machines. Use long radius elbows and gradual transitions to minimize turbulence and pressure loss. Install blast gates at each branch line to allow for airflow adjustment and system balancing.
When connecting branch lines to machines, use flexible hose for the final connection to accommodate movement and vibration. Keep flexible connections as short as possible to minimize air resistance. Ensure all joints and connections are properly sealed using appropriate methods such as duct sealant or metal tape.
Pay special attention to potential problem areas such as horizontal runs where dust might settle. Maintain proper slope in horizontal sections (typically 1 inch per 10 feet) to encourage dust movement towards the collector. Install clean-out points at strategic locations to facilitate maintenance and clearing of any blockages.
Finally, consider incorporating a spark detection and suppression system in the ductwork if you're collecting combustible dusts. This adds an extra layer of safety to your dust collection system.
By carefully planning and executing your ductwork installation, you can ensure that your cyclone dust collector operates at peak efficiency, providing effective dust removal throughout your facility.
What are the electrical and control system requirements for a cyclone dust collector?
Setting up the electrical and control systems for your cyclone dust collector is a crucial step that ensures safe and efficient operation. These systems not only power the collector but also provide essential control and monitoring functions.
The primary electrical requirement is powering the fan motor. This typically involves connecting the motor to a suitable power source, usually three-phase power for industrial applications. The exact voltage and amperage requirements will depend on the motor specifications provided by the manufacturer. It's essential to ensure that your electrical system can handle the load of the dust collector motor without overloading circuits.
In addition to the main power connection, you'll need to install a motor starter or variable frequency drive (VFD). A VFD can offer benefits such as soft start capabilities, which reduce wear on the motor and belt system, and the ability to adjust fan speed for optimal performance and energy efficiency.
"Implementing a variable frequency drive (VFD) in your cyclone dust collector system can result in energy savings of up to 50% compared to fixed-speed operation, particularly in applications with varying dust loads."
| Electrical Component | Function |
|---|---|
| Main Power Connection | Supplies power to the system |
| Motor Starter/VFD | Controls motor operation |
| Control Panel | Houses system controls and indicators |
| Safety Interlocks | Ensures safe system operation |
| Pressure Differential Gauge | Monitors filter condition |
The control system for your cyclone dust collector should include a control panel with start/stop buttons, system status indicators, and potentially a human-machine interface (HMI) for more advanced systems. Consider incorporating safety features such as emergency stop buttons and motor overload protection.
Many modern cyclone dust collectors also include automated filter cleaning systems. These may require additional electrical connections and controls, often integrated into the main control panel. A pressure differential gauge is another important component, monitoring the condition of the filters and indicating when cleaning or replacement is necessary.
For facilities handling combustible dusts, explosion protection systems may be required. These can include explosion venting or suppression systems, which need to be properly integrated into the electrical and control systems of the dust collector.
When installing the electrical and control systems, it's crucial to follow all local electrical codes and safety regulations. This often includes proper grounding, conduit installation, and adherence to hazardous location requirements if applicable. Given the complexity and safety implications of these systems, it's highly recommended to work with a qualified electrician or control systems specialist for this part of the installation.
By carefully addressing the electrical and control system requirements, you ensure that your cyclone dust collector not only operates efficiently but also maintains a high level of safety and reliability in your facility.
How do you test and commission a newly installed cyclone dust collector?
Testing and commissioning a newly installed cyclone dust collector is a critical final step that ensures your system is operating correctly and efficiently. This process verifies that all components are functioning as intended and that the system meets the design specifications and performance requirements.
Begin the commissioning process with a thorough visual inspection of the entire system. Check all connections, including ductwork, electrical connections, and mechanical fasteners. Ensure that all safety guards and access panels are properly in place and secured.
Next, perform a dry run of the system without introducing any dust. This allows you to check for any unusual noises, vibrations, or air leaks. Verify that the fan is rotating in the correct direction and that all electrical controls are functioning properly.
"A well-executed commissioning process can identify and resolve up to 90% of potential issues before they become operational problems, significantly reducing downtime and maintenance costs."
| Test Parameter | Description |
|---|---|
| Airflow Measurement | Verify CFM at key points |
| Static Pressure | Check against design specifications |
| Motor Performance | Monitor amperage draw and temperature |
| Filter Efficiency | Test particle capture rate |
| Noise Levels | Measure and compare to specifications |
Once the initial checks are complete, conduct airflow measurements at key points in the system. This includes measuring the total system CFM and verifying that each branch line is receiving the designed airflow. Use a manometer to check static pressure at various points in the system, comparing these readings to the design specifications.
Test the dust collection efficiency by introducing a known quantity of test dust into the system. Measure the amount of dust captured in the collection bin and any emissions from the exhaust to calculate the overall efficiency. This test should be performed under various operating conditions to ensure consistent performance.
Check the performance of the filter cleaning system, if applicable. Verify that the cleaning cycles are occurring as programmed and that they effectively maintain filter efficiency. Monitor the pressure differential across the filters during operation to ensure it remains within acceptable limits.
For systems handling combustible dusts, conduct additional tests to verify the proper operation of any explosion protection systems. This may include testing explosion vents or suppression systems according to manufacturer guidelines and regulatory requirements.
Finally, run the system under normal operating conditions for an extended period, monitoring all parameters such as motor amperage, temperature, vibration levels, and dust capture efficiency. This extended test helps identify any issues that may not be apparent during short-term testing.
Throughout the commissioning process, document all test results, settings, and observations. This documentation serves as a baseline for future performance comparisons and can be invaluable for troubleshooting or system optimization.
By thoroughly testing and commissioning your newly installed cyclone dust collector, you ensure that it's ready to provide efficient and reliable dust collection for your facility, contributing to a cleaner, safer, and more productive work environment.
In conclusion, installing a cyclone dust collector is a complex but rewarding process that significantly improves air quality and safety in industrial environments. By carefully considering factors such as sizing, positioning, and system components, you can ensure optimal performance and efficiency. Proper assembly, ductwork installation, and electrical setup are crucial for the system's effectiveness. Finally, thorough testing and commissioning validate that your cyclone dust collector meets all performance requirements.
Remember that while this guide provides a comprehensive overview, each installation may have unique challenges and requirements. It's always advisable to consult with experienced professionals or the manufacturer when in doubt. With careful planning and execution, your cyclone dust collector will provide reliable dust control, contributing to a cleaner, healthier, and more productive workplace for years to come.
External Resources
High Efficiency Cyclone Dust Collector User Guide – Parker Hannifin – This user guide provides detailed instructions on the installation, operation, and maintenance of Parker Hannifin's Cyclone Dust Collector C Series. It includes steps for assembling the unit, electrical installation, and troubleshooting.
D.I.Y. Dust Collection Ductwork Installation Guide | Oneida Air Systems – This guide offers clear and detailed instructions for planning, assembling, and installing dust collection ductwork and flex-hose components, which is crucial for connecting a cyclone dust collector to various tools.
Setting Up A Dust Cyclone – YouTube – This video tutorial from Badger Workshop provides a practical step-by-step guide on setting up a cyclone separator, including tips on installation and maintenance.
Dust Collector Installation Tips – The Spruce Crafts – Although not directly linked here, this resource typically provides general tips and considerations for installing dust collectors, including cyclone models, ensuring proper setup and safety.
Cyclone Dust Collector Installation Manual – Grizzly Industrial – Similar to the Parker Hannifin guide, this manual from Grizzly Industrial would provide specific installation instructions for their cyclone dust collectors, including assembly, electrical connections, and safety precautions.
How to Install a Cyclone Dust Collector – Woodcraft – This resource usually offers a comprehensive guide on installing cyclone dust collectors, including planning the layout, assembling the components, and ensuring proper ventilation.
